Saturday, June 28, 2014

My Costuming Tangent

         But wait, I am getting ahead of myself a bit since many of these parts stories are concurrent.  After May the Fourth at the library I was kind of hooked on the idea that I would be a part of the 501st Legion: Vader's Fist and our local Bloodfin Garrison in Indy.  But to be a part of the national group I would need a costume for myself as well as constructing the droid.  The droid would be able to be in the group but it would be better if I were also :)  
         That was all of the convincing I needed.  I looked up stormtrooper armor and then quickly backtracked when I found that a set of armor costs roughly $1800.  Instead I thought about my favorites in the movies, which all live on Tatooine.  I love jawas, but contrary to popular belief, I am actually too tall for a jawa.  Gramorrean Gaurds are a cool aliens as well (green bacon, they are pigs :), but I am not a sculptor and there are not sites out there that make a superb mask. 

          The Tusken raider on the other hand does have a few people online that make a mask kit and the clothing didn’t look too hard to make.  I found a mask online that someone had started and purchase it on Ebay.  The face and top of the head had been put together and it was perfect, it also came with the robes (which look like a blanket and cloak).  I had to finish the back of the mask so the long fabric strands did not show and covered the back of my head.  I also had to dye my own fabric and cut into strips, dry in the dryer to rough them up, and create real looking leg and arm wraps and shoes.  The only thing I am currently missing is a neck wrap and gloves, which should prove easier than the other parts.  All in all, I am pretty proud of this costume and will be sending in pictures for admittance into the 501st at the end of the summer.
The Head
Me in the costume

It's Been a While

First off, sorry.  It really has been a while since I posted here.  I really am sorry to those builders out there that have been following for advice and help.  I am also sorry to myself for not getting anything on "paper" for that amount of time.  Hopefully I won't forget anything important that has happened.
        I will say right off the bat that life got busy (this happens to all builders, I have read this exact post multiple times in other blogs).  The end of the school year has come and gone, a vacation to Disney World with the family has come and gone, summer committee work days have come and gone, DroidCon, and fixing some mistakes.  Now back to R2.
       Many exciting things have been purchased for our droid in the past 4 weeks.  At this point I have almost all of the parts that I believe I will be using.  That does not include small minor things like screws and bolts and glue, but the major R2 parts.
       The large parts that I have been able to get since last time are the skins and the skirt.  The skins was a part that I was very worried about getting before August as I missed the run on Astromech.net by an hour.  A new guy in Germany was going to do a run because there hadn't been one on the club site for about a year and a half.  The Builder's Council (BC) for Astromech allowed him to do 30 sets since this was his first and they wanted to test his fabricating and delivery time.  I had not been checking the website very frequently at that time and because the guy was in Germany and it was a Saturday, I missed slot 30 by an hour.  The whole list filled up in less than 4 hours while I was sleeping.  I was crushed, and until I had every part I needed I decided I would check the site almost every hour just in case.
        The skins guy only took three weeks to fabricate, roll, and deliver all 30 sets of skins.  When the guys who had gotten their skins started receiving them I put a post out there that requested a set of skins, just in case someone had another sitting around and bought the new ones.  I was very pleasantly surprised when a gentleman emailed me and told me that he had just that, a set of skins from the last run a year ago and would wait until he received his new set.  He said I could have the old ones soon after that.  I was thrilled and so excited when they arrived the day we got back from our bi-annual Walt Disney World trip.
         There are actually four skins that make up an entire "set", 2 front and 2 rear skins.  The reason for 2 skins each is that the front set has the panels for the doors that will be glued or screwed into the smaller panels in the second skin to create a lip for the doors to rest upon.  You can also bolt on the hinges through the second skin (making sure they are flush by countersinking them) and covering up all of the screw heads with the top skin.  Pretty nifty designing.

        I also received a large delivery of resin parts from WORRparts.com.  These are all of the detail parts on the legs, body and dome.  One of the fun parts for me in this project has been learning what everything is called.  The horseshoes, battery boxes, octoports, exhaust vents, side vents, utility arms, large data port, radar eye, holoprojectors, and such.
How many do you recognize?
       In the next couple of weeks lots of real world events occurred and slowed down any production.  The last week of school was busy and I did not feel like working once I got home most of those nights.  Then we left for Disney the next week.  When we got back I had a couple of full work days with a committee at school and didn't get any work done.  Then we went on a camping trip with our neighbors for two nights.  But, that whole time I was still getting online and buying parts that were still needed and good thing I did.  The biggest scores were the electronics for the drive system (what makes R2-M5 drive around) and the MarcDuinos (that are going to make the sounds and all of my panels open and close with servos).  
        The Marcduinos (named for the guy that created the system, a play on the arduino boards that most robotics people use) were a huge find.  I got on the site one morning and found a guy selling a complete set with sound board, holoprojector lights, wi-fly, and two boards for a very reasonable $300.  I got online two minutes after he posted and I jumped on the chance to buy them.  Right after I posted my reply another guy posted with "Looks like I missed it by 1 minute."  Vigilance was rewarded that morning.  Now R2 has taken over the dining room as well with all of the electronics, speakers, lights and servos that have been purchased.  I needed an area that wasn't being covered with dust every day in the DCB. 

All of my electronics and R2 overseeing the construction.
DPL and CBI connected to an Arduino.

Tuesday, May 20, 2014

Well, That's a Droid of Another Color

Sunday when we got back from our cub scout family camping trip I started painting.  I had a bunch of paint too.  I started with Rustoleum Self Etching Primer (249322) and did two coats 15 minutes apart. The worst thing about this project is that sometimes I have to do the single most difficult task, wait.
To paint the panels on the dome.

Using the caps of several cans of paint because the curve of the panels.
I had to get all edges since they will end up showing in the final product.

All the panels done with the coat of primer.
 Monday after school I came straight home and started my color painting.  I wanted a dark undercoat to bring out the top coat of red.  I started with Rustoleum Satin Heritage Red (7760) with one coat and then two top coats of Dupli-Color Anodized Red (MC200) 10 minutes apart.  Then to finish them off I sprayed the pieces with 2 coats of Rustoleum Gloss Crystal Clear (248644). 
All the pie panels from the top of R2's head on the red stage.

All the pieces done.
 I had to do this for three sets of pieces since I did not have the caps or space to spread them all out at once.  This was a 3 hour process, but the results are awesome.
So purdy in the sun.

All of the pieces on the dome (not yet attached).
He is looking like a real droid.

Monday, May 19, 2014

He's Got a Good Head on His Shoulders

The domes arrived on Friday!!!  I was so excited to get home and see the box sitting on the porch, UPS had sent me an email near the end of the school day saying that it had been delivered.  I placed the box just inside the door so the kids would see it when walked in from the bus and they got really excited once they figured out what it was.  We went to run errands that evening because Steph wasn't home yet to see the unveiling and I wasn't sure that I would be able to resist.  At 8:00 that evening (after five hours of torture) we unwrapped the box and saw the beautiful craftsmanship that was contained within.
Inner and Outer Dome with the Dome Ring
the unveiling
           I started by wanting to polish up the dome a bit and clean off the water marks left from the hydroforming process.  I purchased some kerosene and #0000 steel wool for the polishing.  Kerosene has a mighty odor that does not go away quickly.  We had the cars out in the driveway for two days while it aired out.  The kerosene did shine up the aluminum , but it did nothing for the water spots.
Shiny!
          I checked on the interwebs to find a way to get water spots off of aluminum.  Vinegar was the one sure fire way to clean it up and I had just been talking with my students about how vinegar was a wonder cleaner.  I sprayed the vinegar on the dome and started rubbing it with the steel wool.  What I didn't know is that vinegar reacts with steel a little differently than aluminum.  By the time I done with the dome the steel wool had almost completely rusted.  But the water spots were gone from the dome too.
          The next step was cutting out and rasping the panels from the outer dome.  These panels will one day open and close on the dome, which is the reason there is an inner dome.  First cut out the panels, then paint them and reattach them to the inner dome.  Christine wanted to help with this process.  She rasped most of the pieces as I cut them out.  The next post is going to be the painting process.  I was so excited to get going that I cut the pieces out and got the first coats of primer on so I could paint the pieces quickly.
Cut up dome and the pieces


Monday, May 12, 2014

I'm going to learn electronics!

*LEG UPDATE*

The legs are completely painted and ready for the resin pieces as soon as I get those and start sanding and painting those.  They look pretty good, but there are a lot of little imperfections.  Luckily most of those will be covered up by other pieces and details on the legs.  I also ordered resin foot shells for all three of his feet.  It is exciting to see the parts on the leg and it looking more like the real R2 leg.


      More deiveries every day it seems like.  Last week I received all of my servos motors from Amazon and the sexy red paint for the red parts.  I'm really excited about seeing that on a finished piece.  Today I received my "Discover Electronics Kit" so that I can learn how to create electronic parts and board.  The kids and I are going to learn together how to make diodes light up using a circuit board.  I hope it is challenging enough to teach me something.  I really think I learn bet by trying it the way a child would do it.


Tuesday, May 6, 2014

Let the painting begin.

Yesterday I started my painting on the legs.  After checking with other builders to see if most people painted the legs before or after the detail pieces were attached, it was decided that I should paint the legs all the way to final coat before the detail pieces.  Great, because I didn't have the pieces for the legs yet anyway.
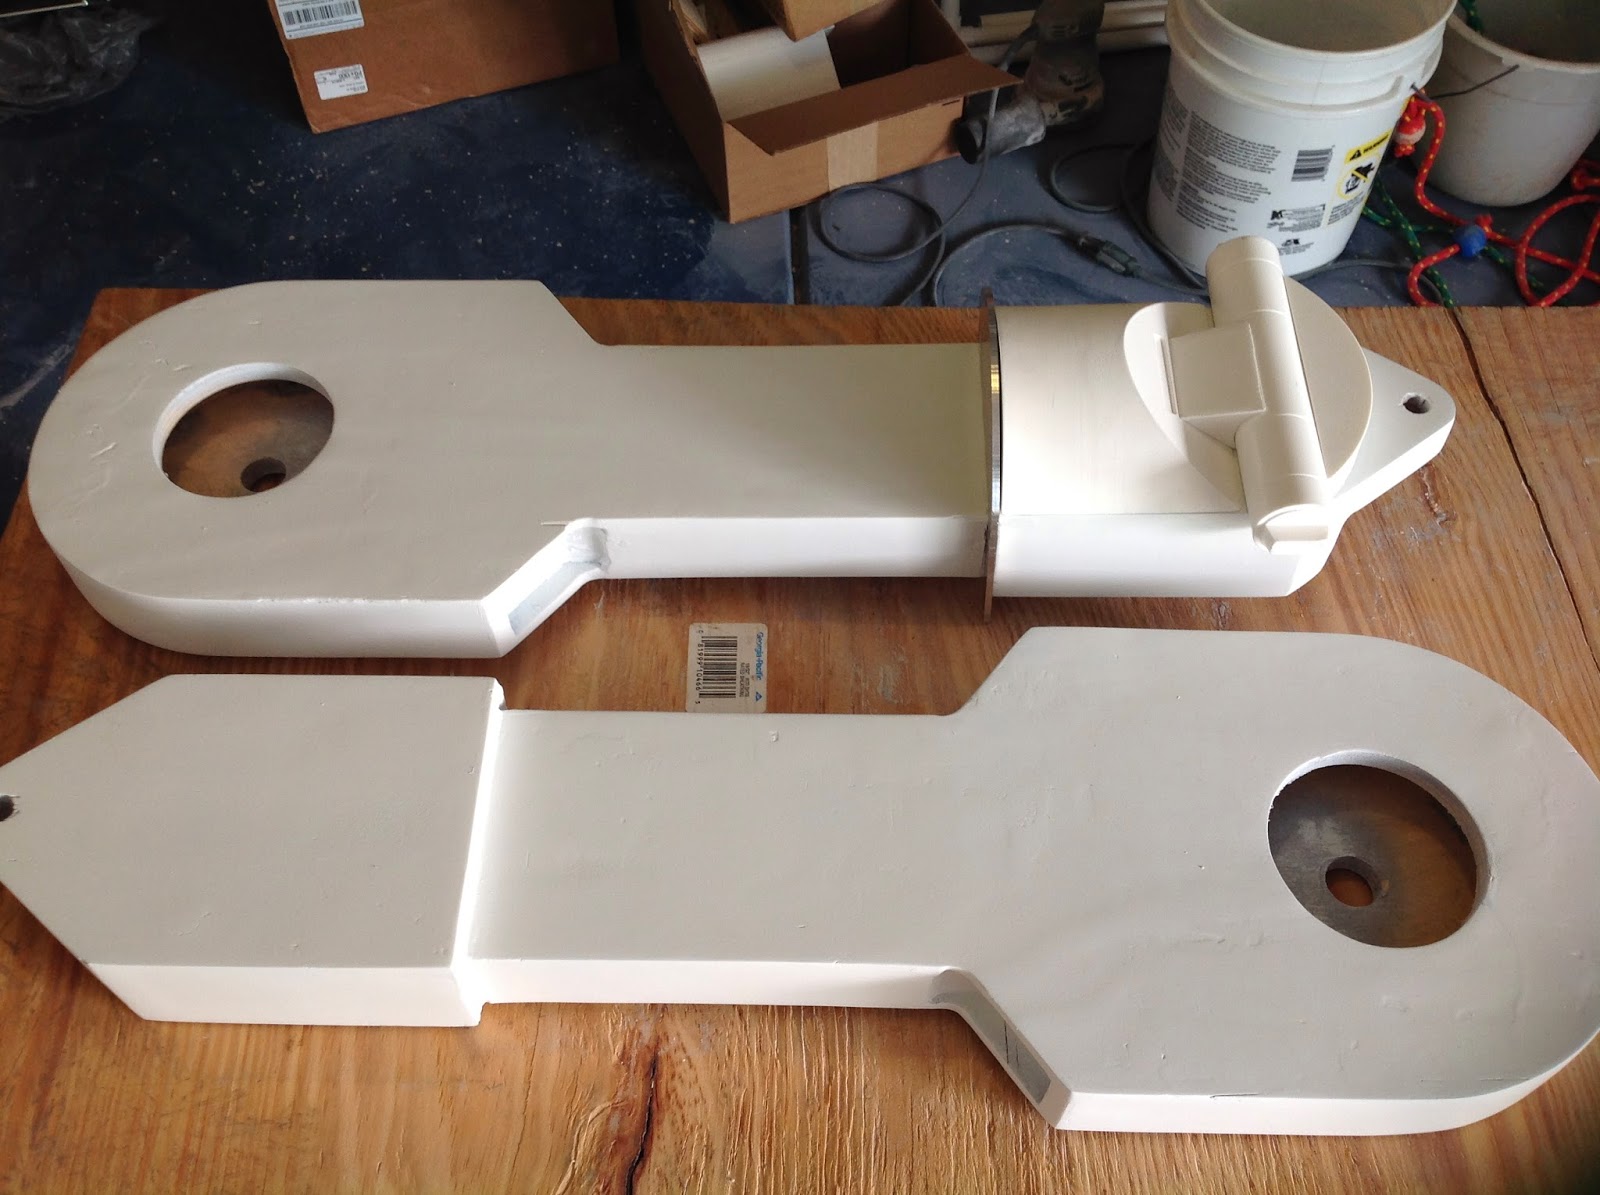
        The first job to tackle was finding the correct paint.  Luckily there have been many people that have made many droids and have a lot more knowledge about how to paint properly than me.  I have had a couple of experiences with spray paint but usually just small objects, nothing of this size where you need to watch for dripping.  This is a scary undertaking for me.  I bought seven cans of spray paint from Lowe's and came home to start.  I bought three cans of gray Rustolium auto primer for the wooden legs and plastic pieces, three cans of white satin Rustolium paint, and a test can of a red for panels later.
         I had seen a very inventive way to hang the legs to paint them from another builder's blog and was able to find materials laying around the garage.  The idea was to hang the legs on a pole because you need all sides painted but not the inside.
Hanging the legs for spraying was genius.
        I went back out to check on my work later that evening and found that paint had exposed every single pock mark, crack, and imperfection.  Oh my, I had a lot of work to redo.  Today I came home and decided to re-Bondo everything that was now extremely visible.  Next step is to resand and repaint with primer.  Then later in the week I can try starting with white coats, three coats of white to be precise.  Wish me luck this time.

Every little crevice came out.

Back at the Bondo state.

Sunday, May 4, 2014

May the Fourth Be with You

Happy Star Wars Day everyone.  Yesterday was my first "event" that I was invited to share my droid knowledge (very limited) and construction materials (also fairly limited at this point).  The Fishers Library had a Star Wars Festival yesterday to celebrate May the Fourth.  Jamie Follis, aka Sillof, does a lot with the library and gave them my name because he knew I won the Lilly grant this year to build R2.  The day was an absolute blast.
        I was told originally that I was going to be between the HSE and Fishers robotics teams with their bots.  I was worried that I was going to have to play referee.  When I arrived, I was directed to a table right in front of the entryway, all by myself!  The other activities were in the youth room nearby and the teen zone behind me.  I became the unofficial greeter and directory, which if you know me had me all broken up and nervous....NOT!  I love that kind of stuff, the teacher in me takes over.
       The day was filled with the Bloodfin Garrison of the local 501st, a garrison of Star Wars cosplayers.  We had a few stormtroopers, Princess Leia, rebel pilot, tie fighter pilot, Boba Fett, a jawa, and a "gonk" droid.  The jawa and I bonded because I had droid parts everywhere on my table that he kept trying to steal, and he made sure that my video on my laptop kept running every time it stopped.
Most of the crew that showed up.
Benny, Boba, and Alex
I got into a little imperial entanglement.
My little Jawa friend.
The imperials and Jedi took over running the place for a bit.
        I had a lot of fun talking to people about the build process and discussing everything from building techniques to cost of parts.  A few guys that came in were very intrigued about vendors and how they might be able to help me with certain parts.  I actually collected a couple of business cards of people that were truly excited about helping me out with 3D printing some pieces and/or polyforming some skins with me.   I'm not exactly sure how that would work, but I'm excited to know that there might be some people out there that are willing to share there tools and knowledge.
My table with my right hand man.
       May the Fourth (really the Third :) kept sending me joys when I got home.  I checked the mail and my aluminum center foot shell had arrived.  It is beautiful but now I have to figure out how to get the casters to sit properly inside of it and get the resin details for the outside of it....you know, every time I get excited about getting a new part delivered it adds to my work load, hmm.  I was looking up how to connect it for an hour yesterday until I realized that I don't even have my center leg to attach it anyway.  I'm still excited, and can't wait for my dome to come in this week too.  That's going to be a big job to tackle.